

About this integration
Even without the Android SDK, there is only minimal configuration required to get set up to process Google Pay. Unlike some other integrations it does not require you to sign up for a Google Developer account.Enable Google Pay
To enable Google Pay, head over to your dashboard and then go to Connections -> Catalog -> Google Pay. Next, fill in your merchant name and the one or more domain names where you want to use Google Pay.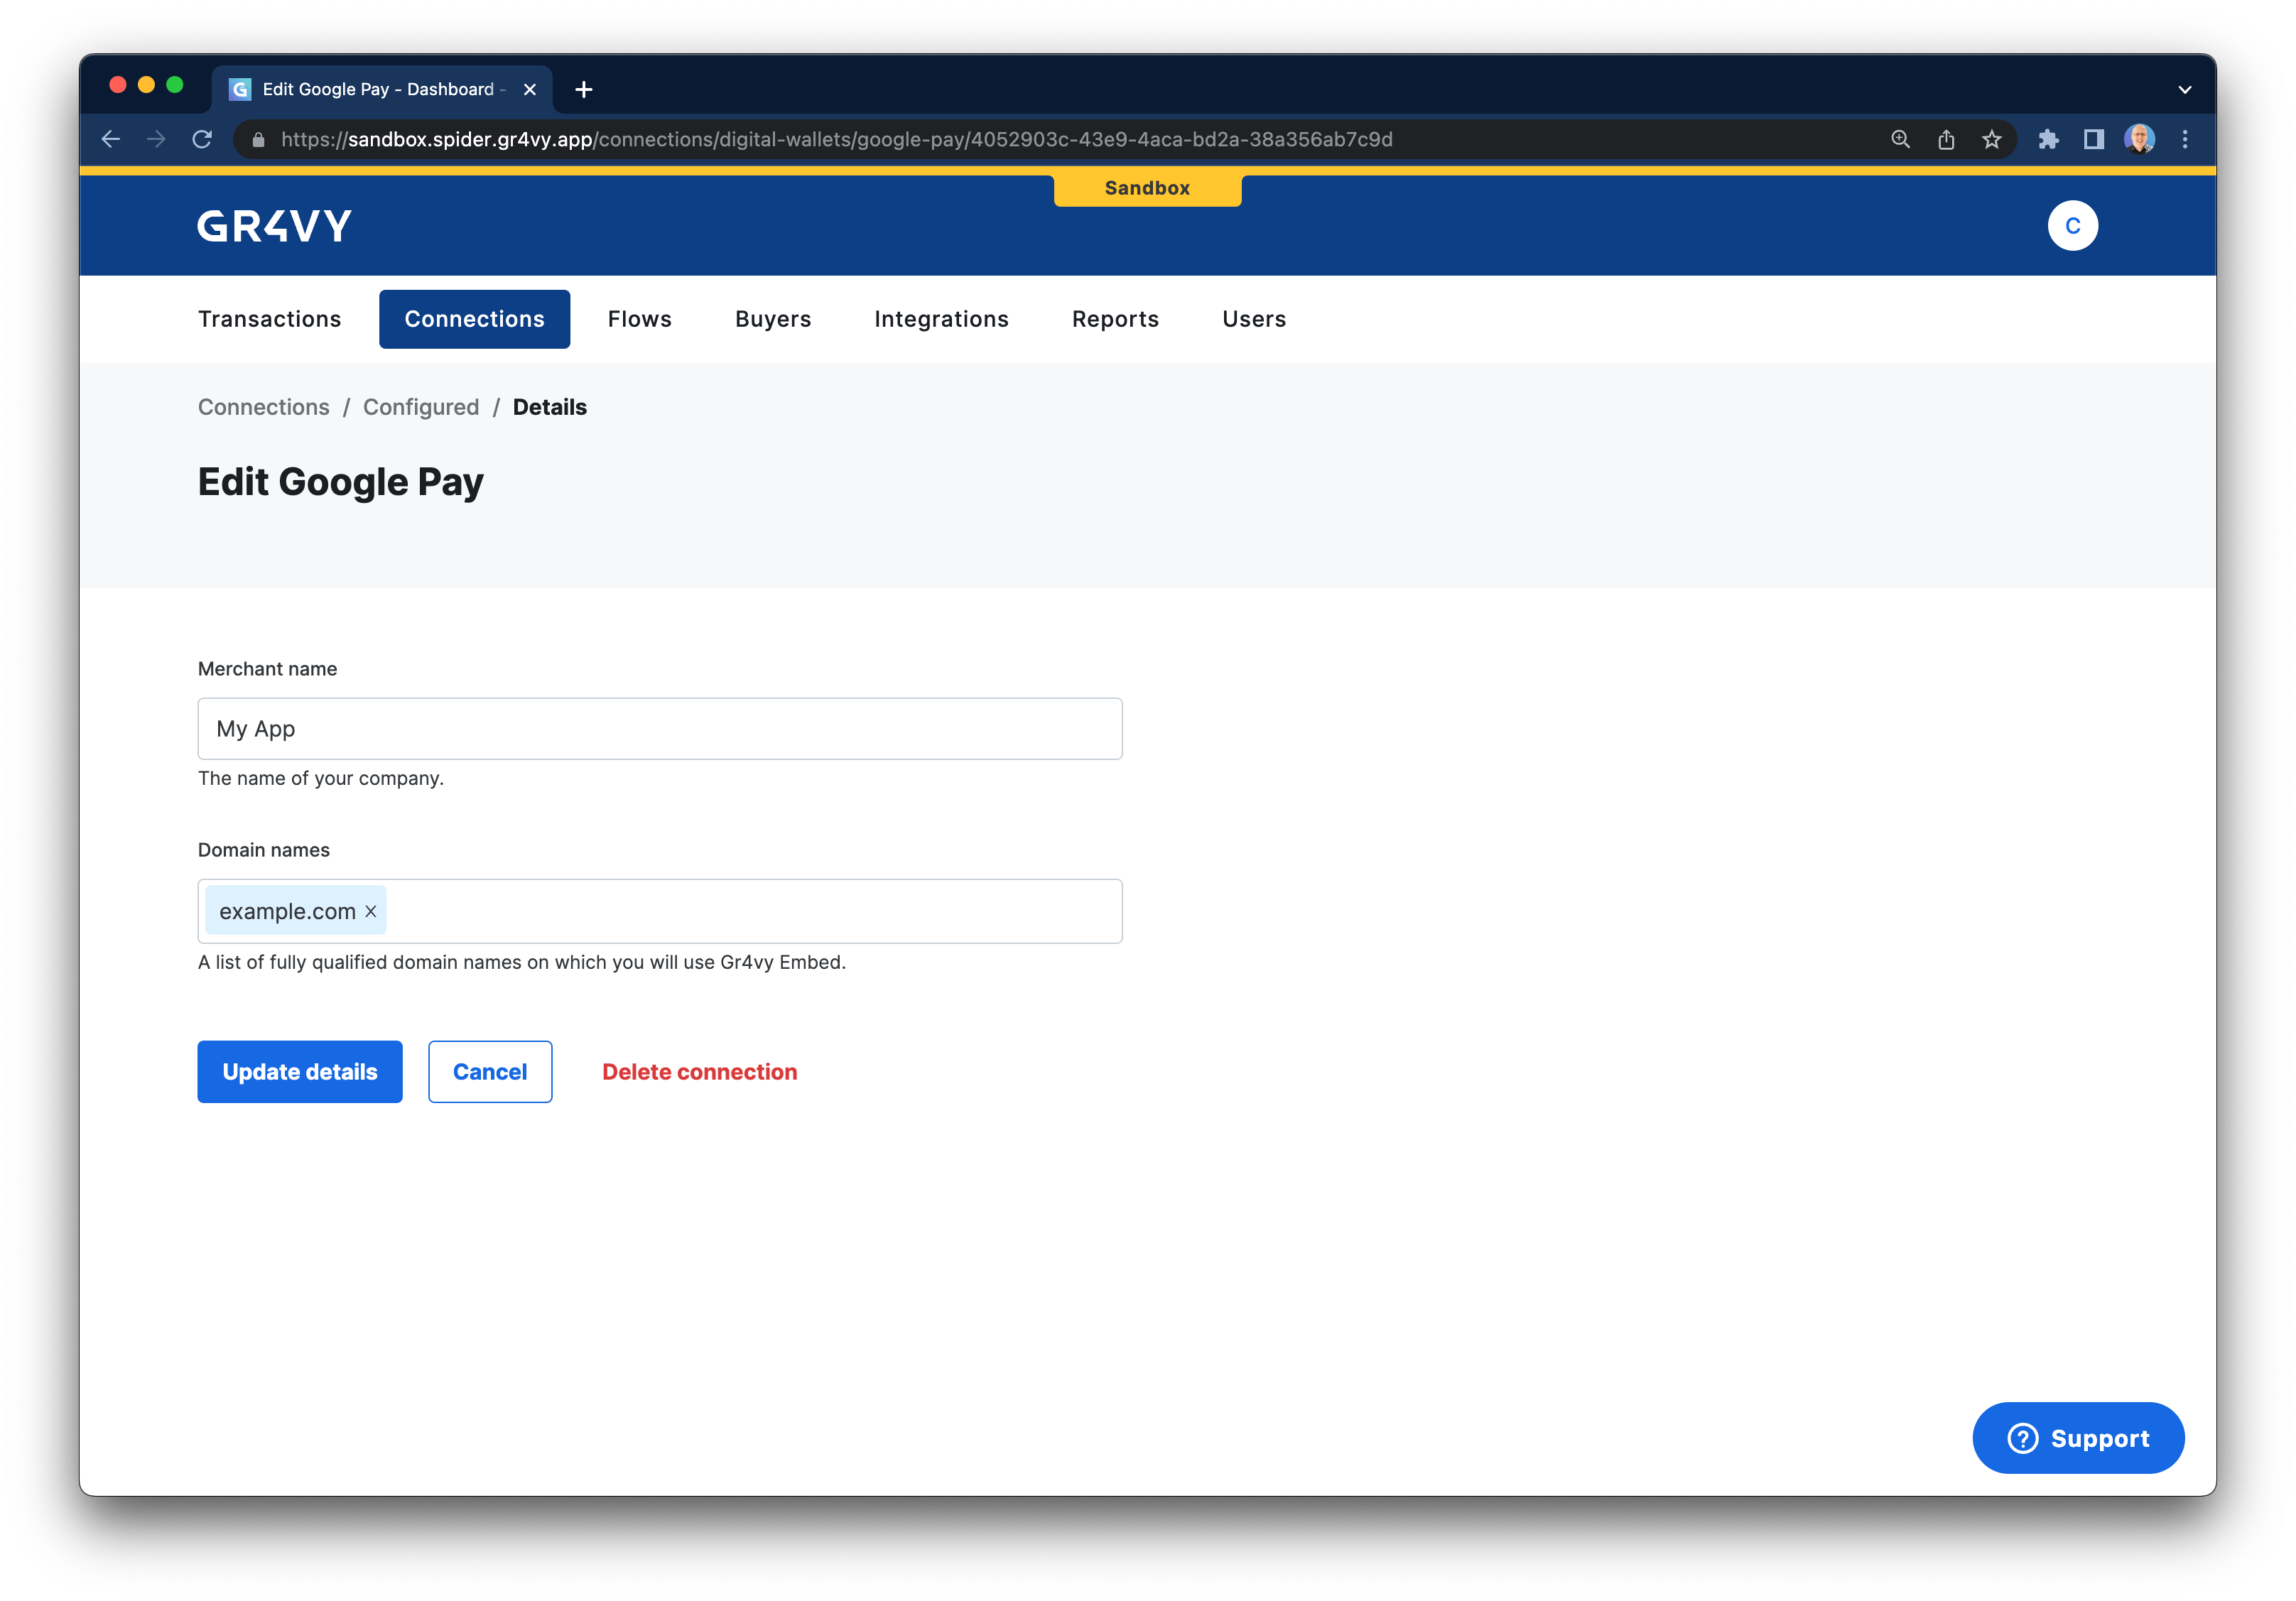
Integrate Google Pay
- Java
- React Native
To learn how to integrate Google Pay, following Google’s tutorial is recommended. The steps below highlight any differences
and specifics for the API.
Set gateway and merchant ID
In step 2 of Google’s tutorial you are instructed to request a payment token for your provider. In this case, the value forgateway needs to be set to gr4vy, and the value of gatewayMerchantId needs
to be set to app.gr4vy.sandbox.[gr4vy_id].[merchant_account_id] for your sandbox environment, and
app.gr4vy.[gr4vy_id].[merchant_account_id] in production.The instance ID is the unique identifier for the deployment of the system and is included in every API call.
Together with the environment (sandbox or production) it is used to connect to the right APIs, as well as dashboard.
Create a transaction
In step 9 of Google’s tutorial, you have apaymentData that needs to be
sent to the gateway. You can send this object to the POST /transactions
endpoint either directly or via your server.The payment method used needs to contain the data from the Google Pay payload.We strongly recommend always providing a
redirect_url, just in case any connection
is configured to use 3-D Secure.This URL will be appended with both a transaction ID
and status (for example https://example.com/callback?transaction_id=123 &transaction_status=capture_succeeded) after 3-D Secure has been completed.Test Google Pay
Please follow the Google Pay documentation with further guides on how to add test cards for use in a sandbox environment.Common issues
Google Pay shows OR_BIBED_11 error in production
Google Pay shows OR_BIBED_11 error in production
The OR_BIBED_11 error typically occurs due to configuration mismatches between your app and Google Pay settings. Check the following:If any of these don’t match (especially the SHA-256 certificate), updating the configuration typically resolves this error.
SHA-256 certificate mismatch
- In Google Play Console, go to App Integrity → App signing key certificate
- Copy the SHA-256 certificate fingerprint
- In Google Pay & Wallet Console, go to Your Merchant → Android apps
- Verify the SHA-256 matches exactly
- Ensure the status shows as Approved